Once a cancellation request is received, please follow the following steps to process.
CONFIRM CANCELLATION
Step 1: Confirm cancellation in Zendesk
Send the client Cancellation Scheduled Macro and set the cancellation for 30 days.
Remember to put the cancellation date into the email being sent to the customer.
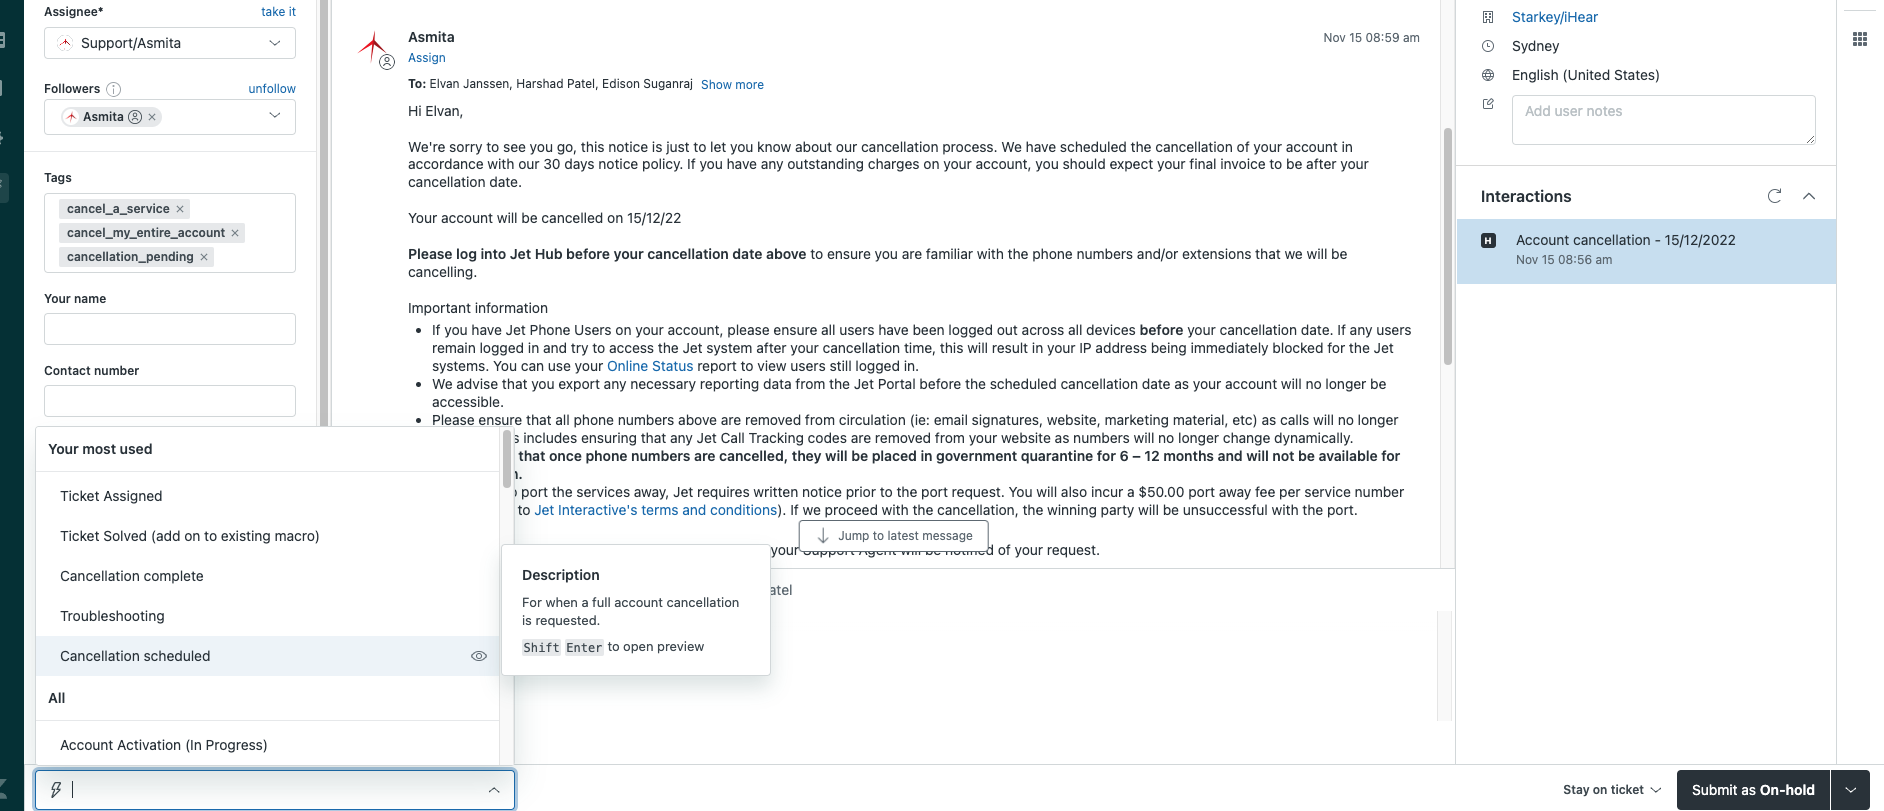
Add a tag to the ticket of "cancellation_pending", and add the cancellation date to the subject of their
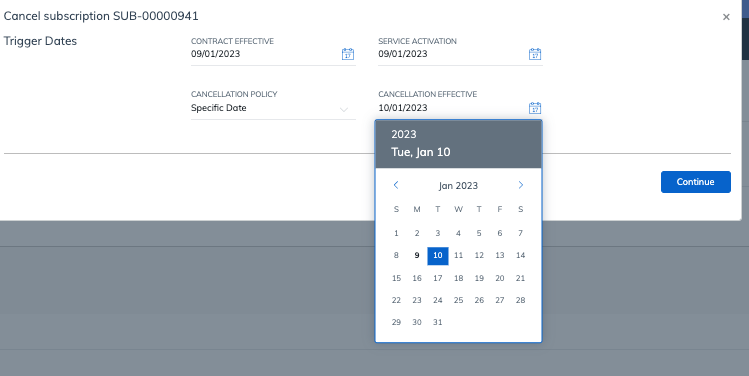
Step 2 : Cancel Subscription in Zuora
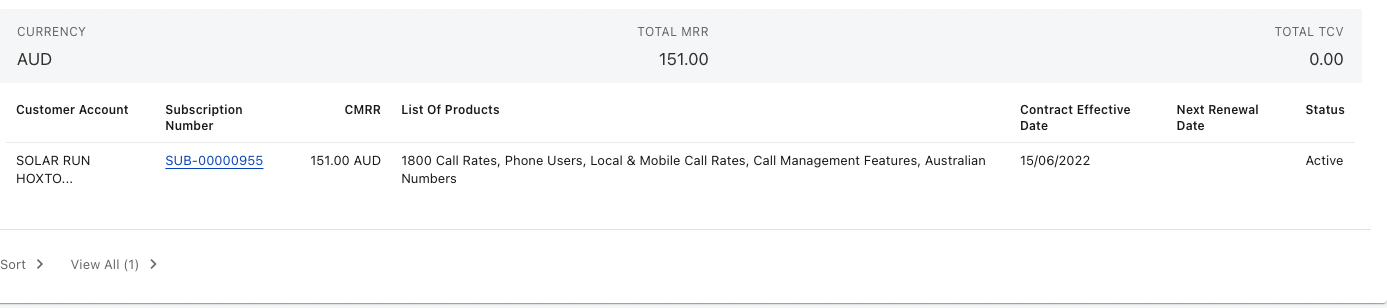
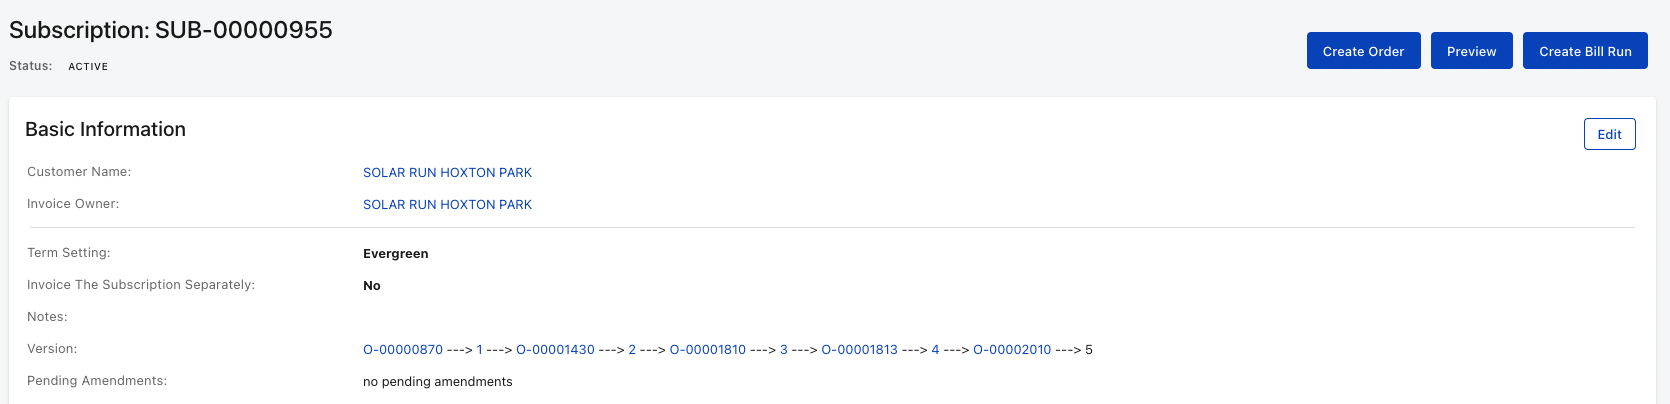
Open the account in Zuora and click on their Subscription number.
note - if there is more than one subscription active, you will need to cancel all of them.
On top right click on Create order.
When the Order page loads, click on More Order Actions and then Cancel Subscription.

Cancel the subscription with cancellation policy of "Specific date" and enter the cancellation date you provided to the customer and click Continue.
Scroll to the bottom of the page and click Activate in the bottom right.

After it is activated, go back to your Zendesk ticket and confirm using Internal Notes that Zuora is cancelled.
PROCESS CANCELLATION
After the 30 days waiting period is complete, please complete the following steps to shut down the account.
STEP 1 : BRAK
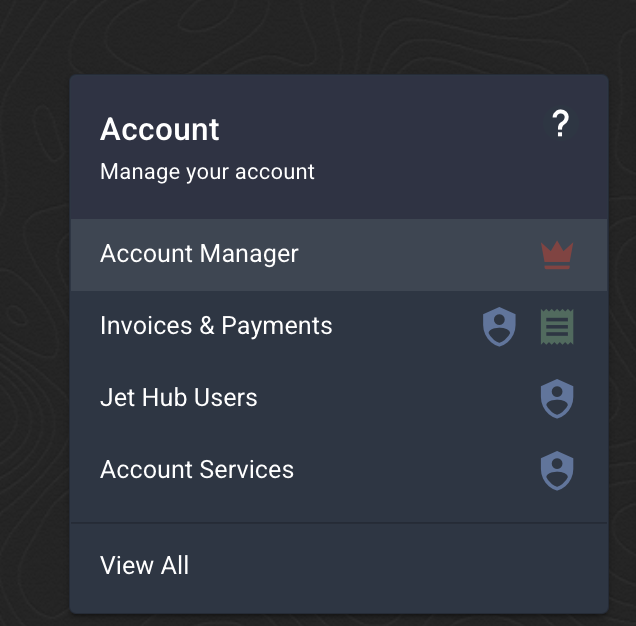
Head to the account section and click on account manager.
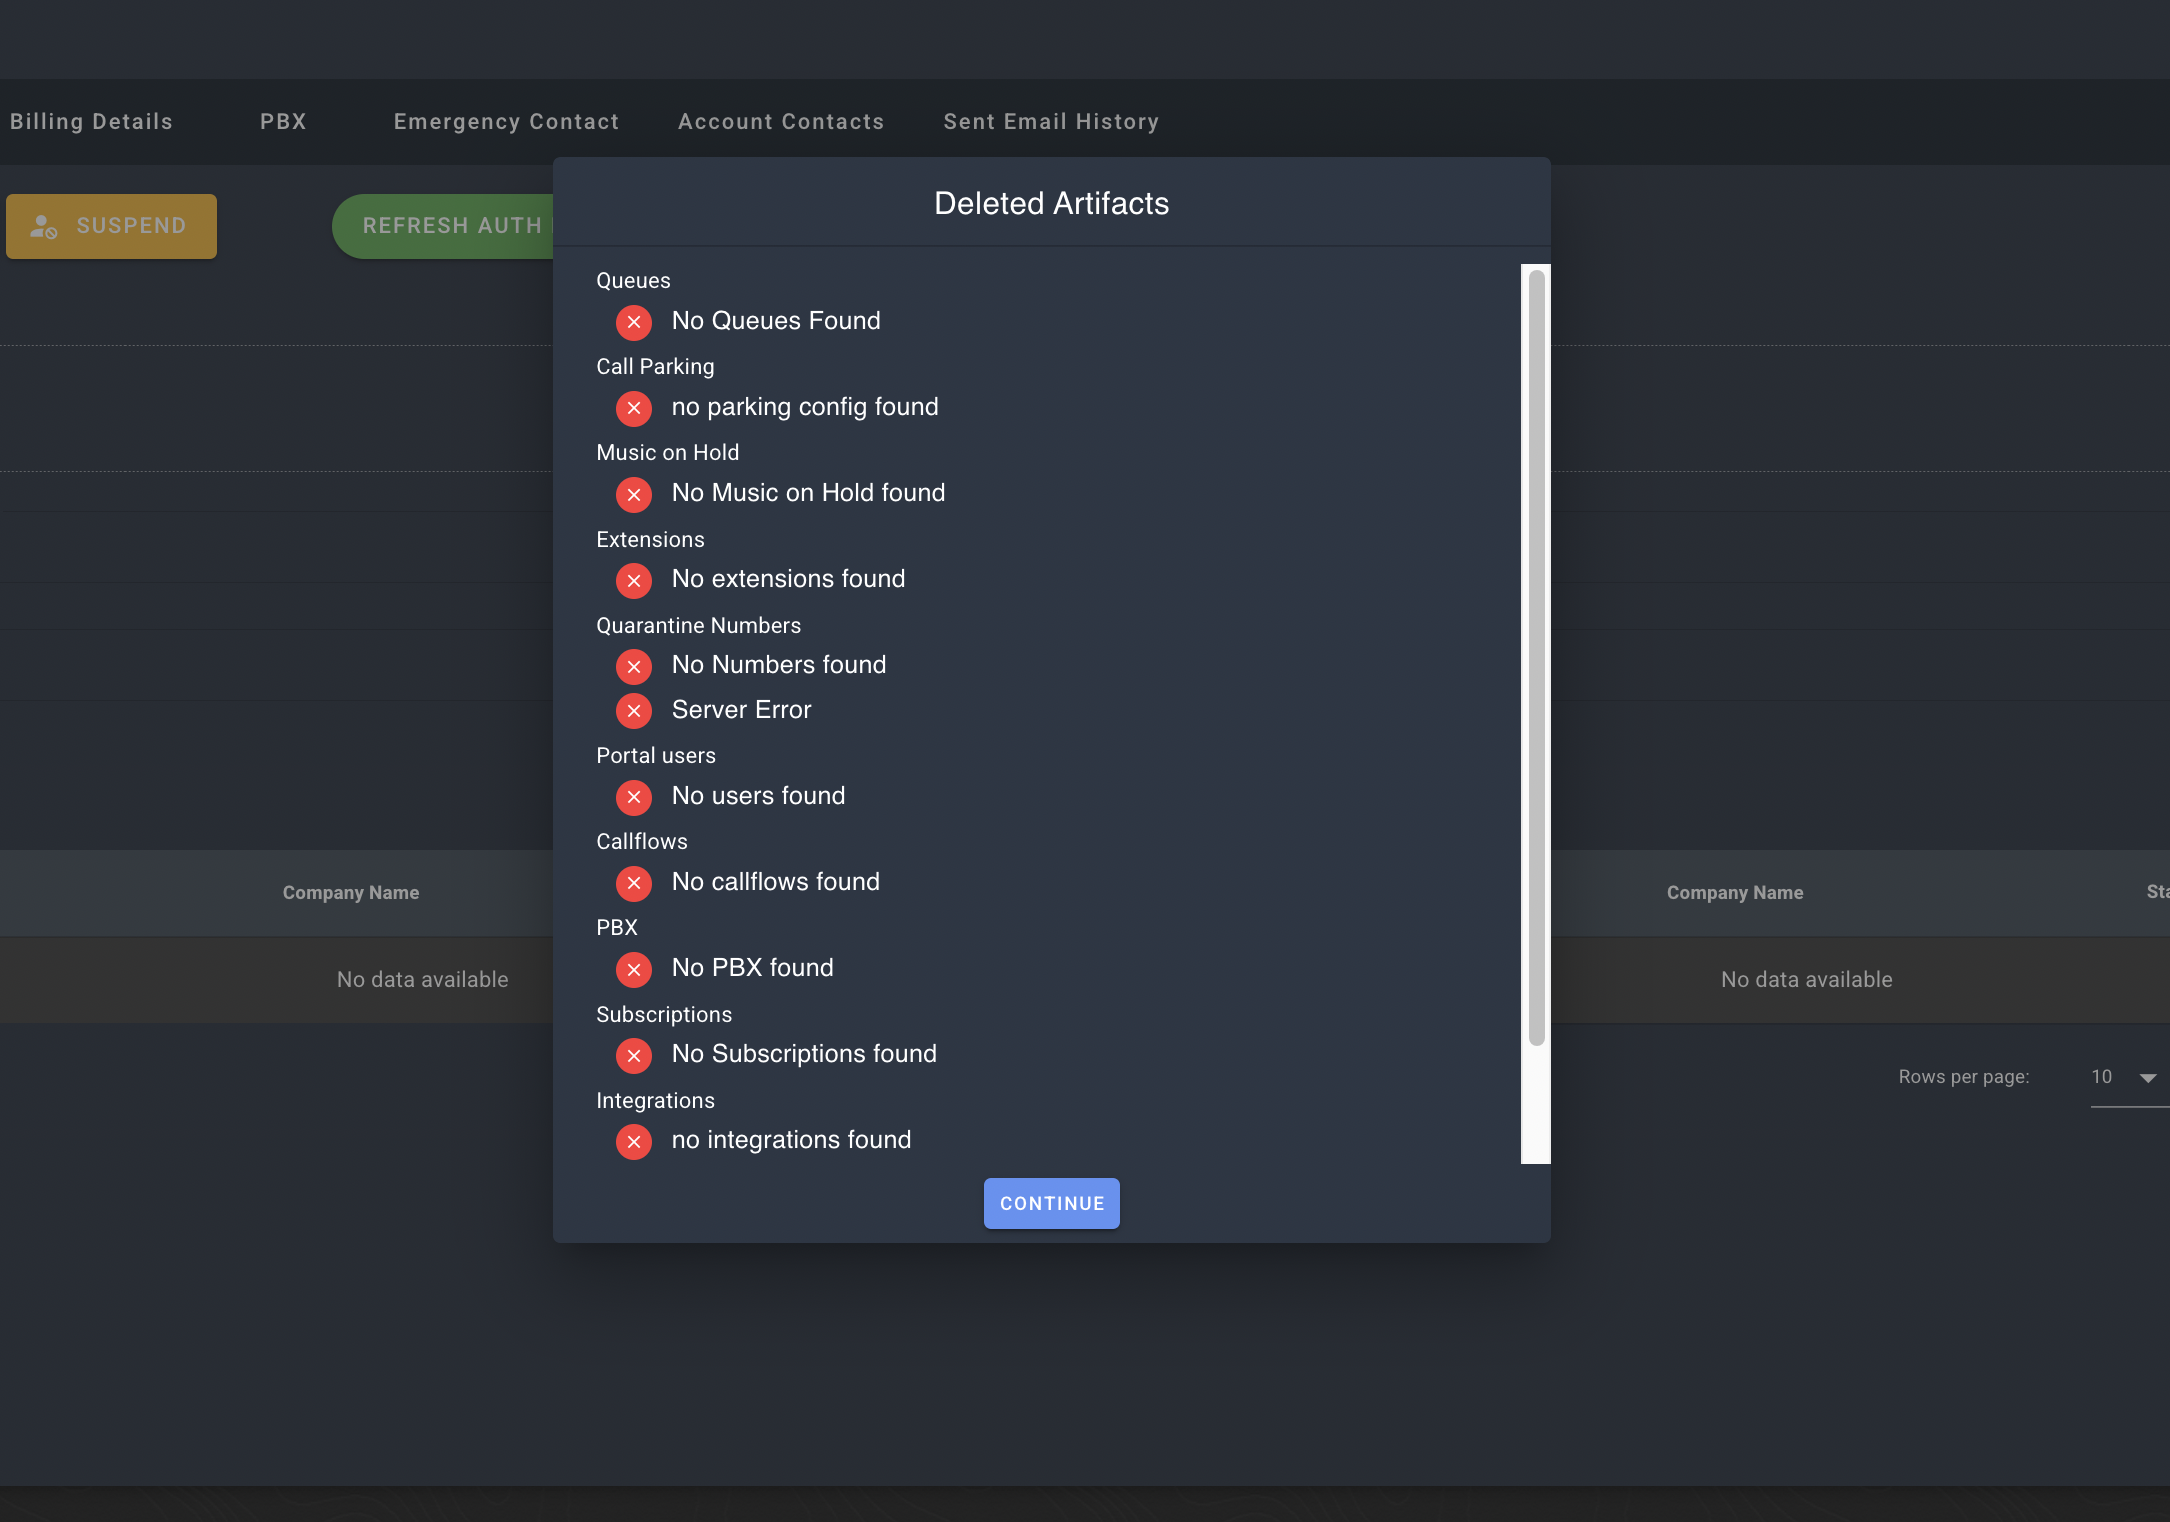
After that click on "DEACTIVATE". A screen will pop up asking you to enter the account number.
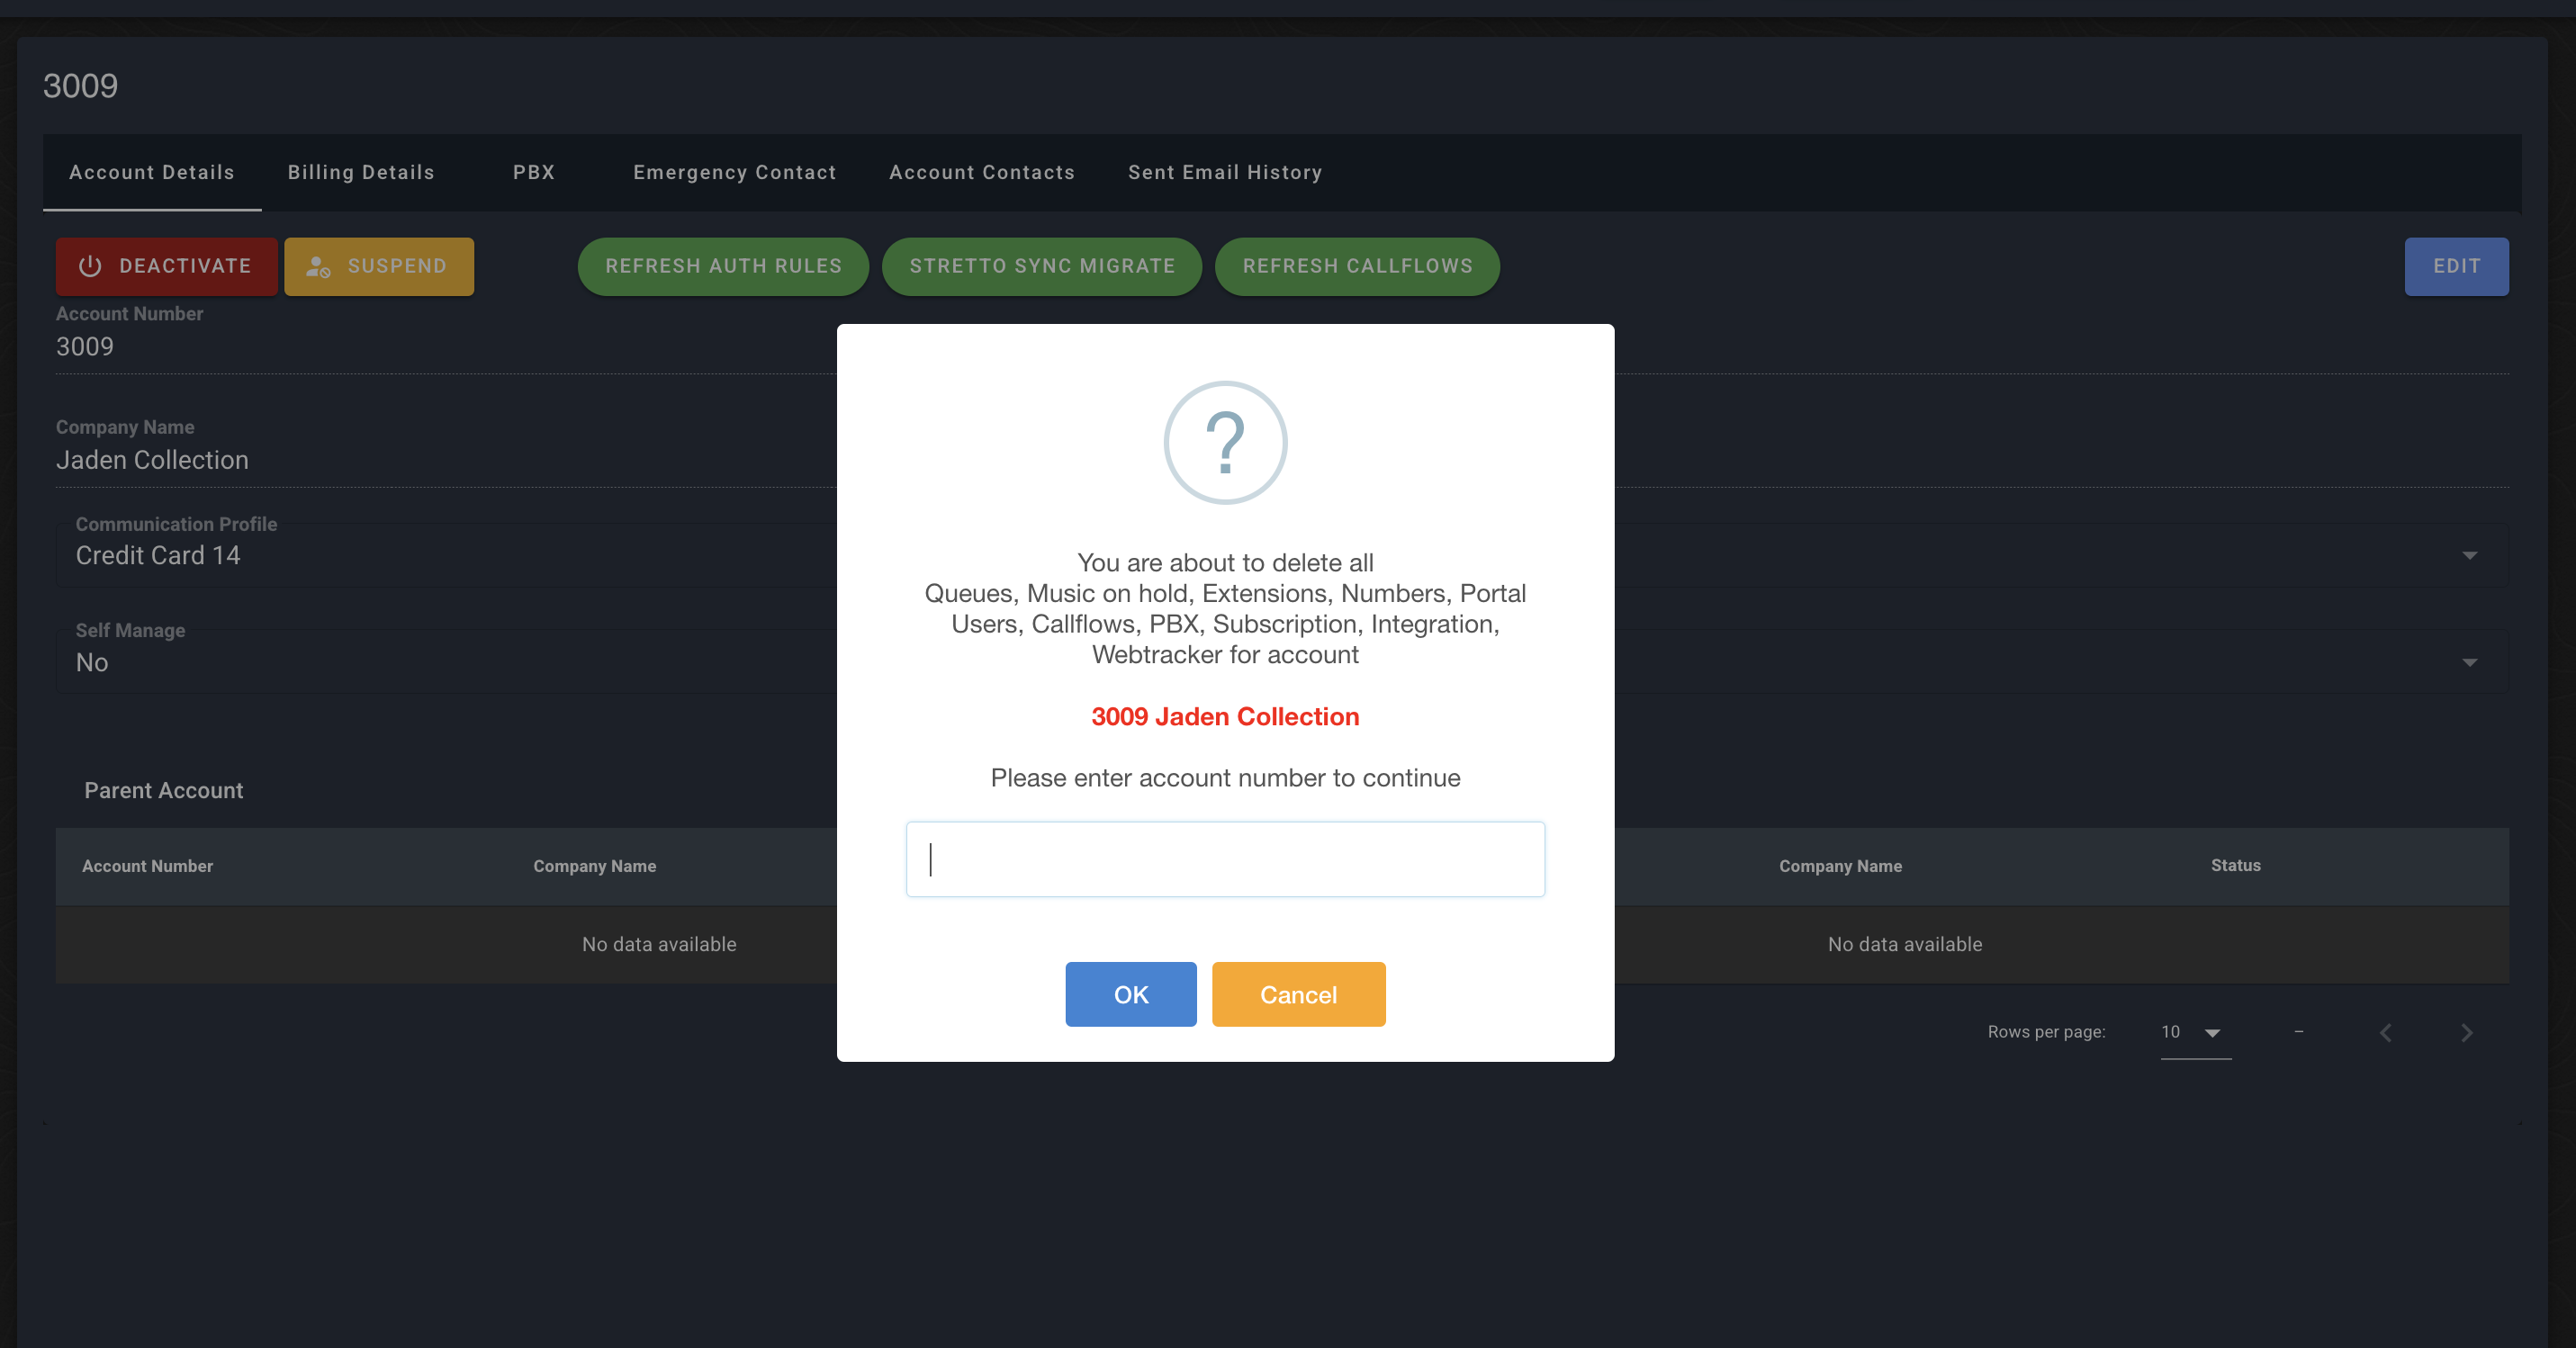
Enter the Account number and Hit "ok"
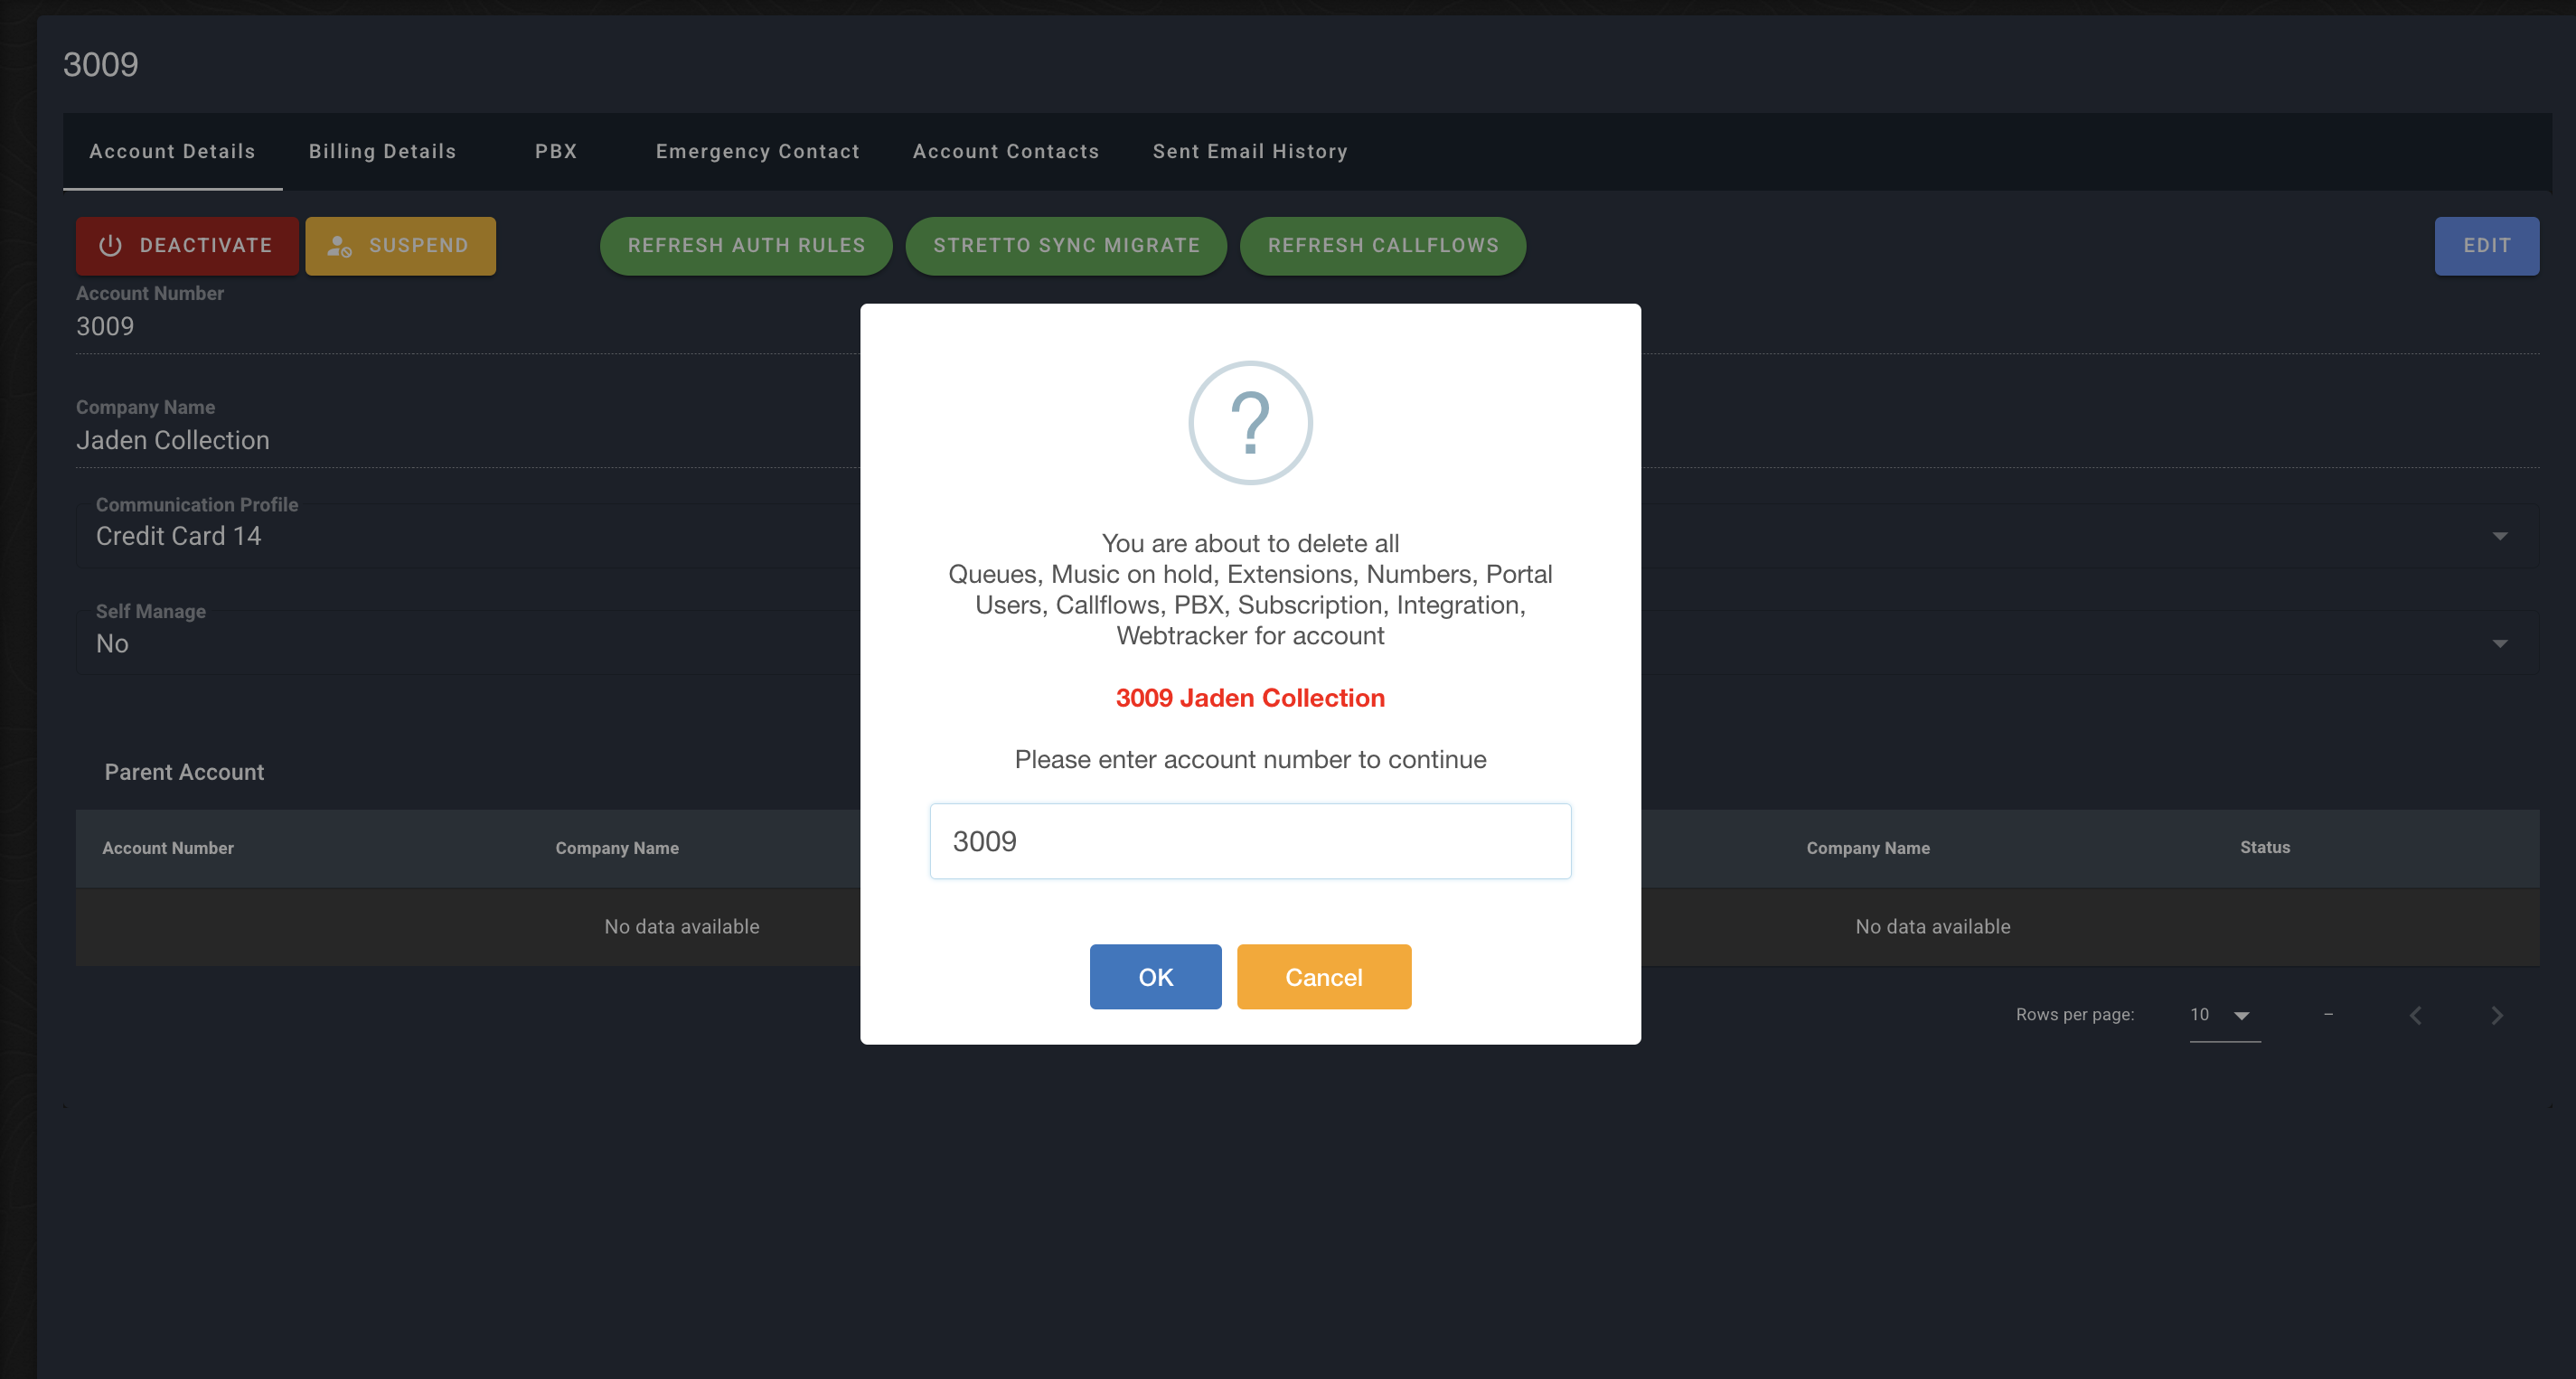
This will then delete all the services, users, callfows and system setups. This cannot be reversed, any reversals must be recreated manually with IT involvement.
Hit continue.
The account and its services are now removed from BRAK. Now head to Zuora to Manage the billing.
STEP 2 : ZUORA
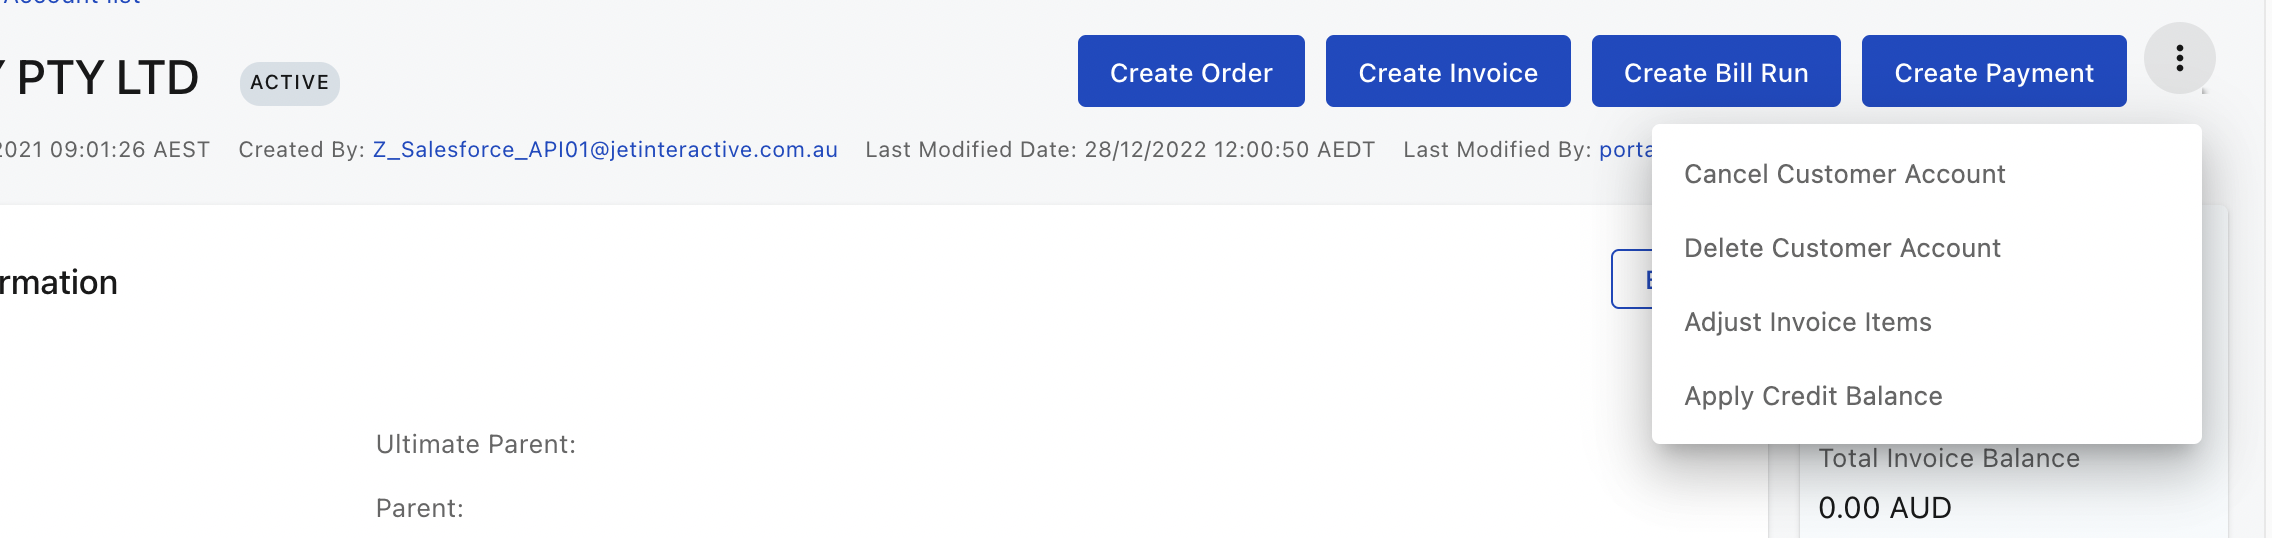
Bring up the customer account and scroll down to the Transactions section.
There, click on " CREATE BILL RUN".
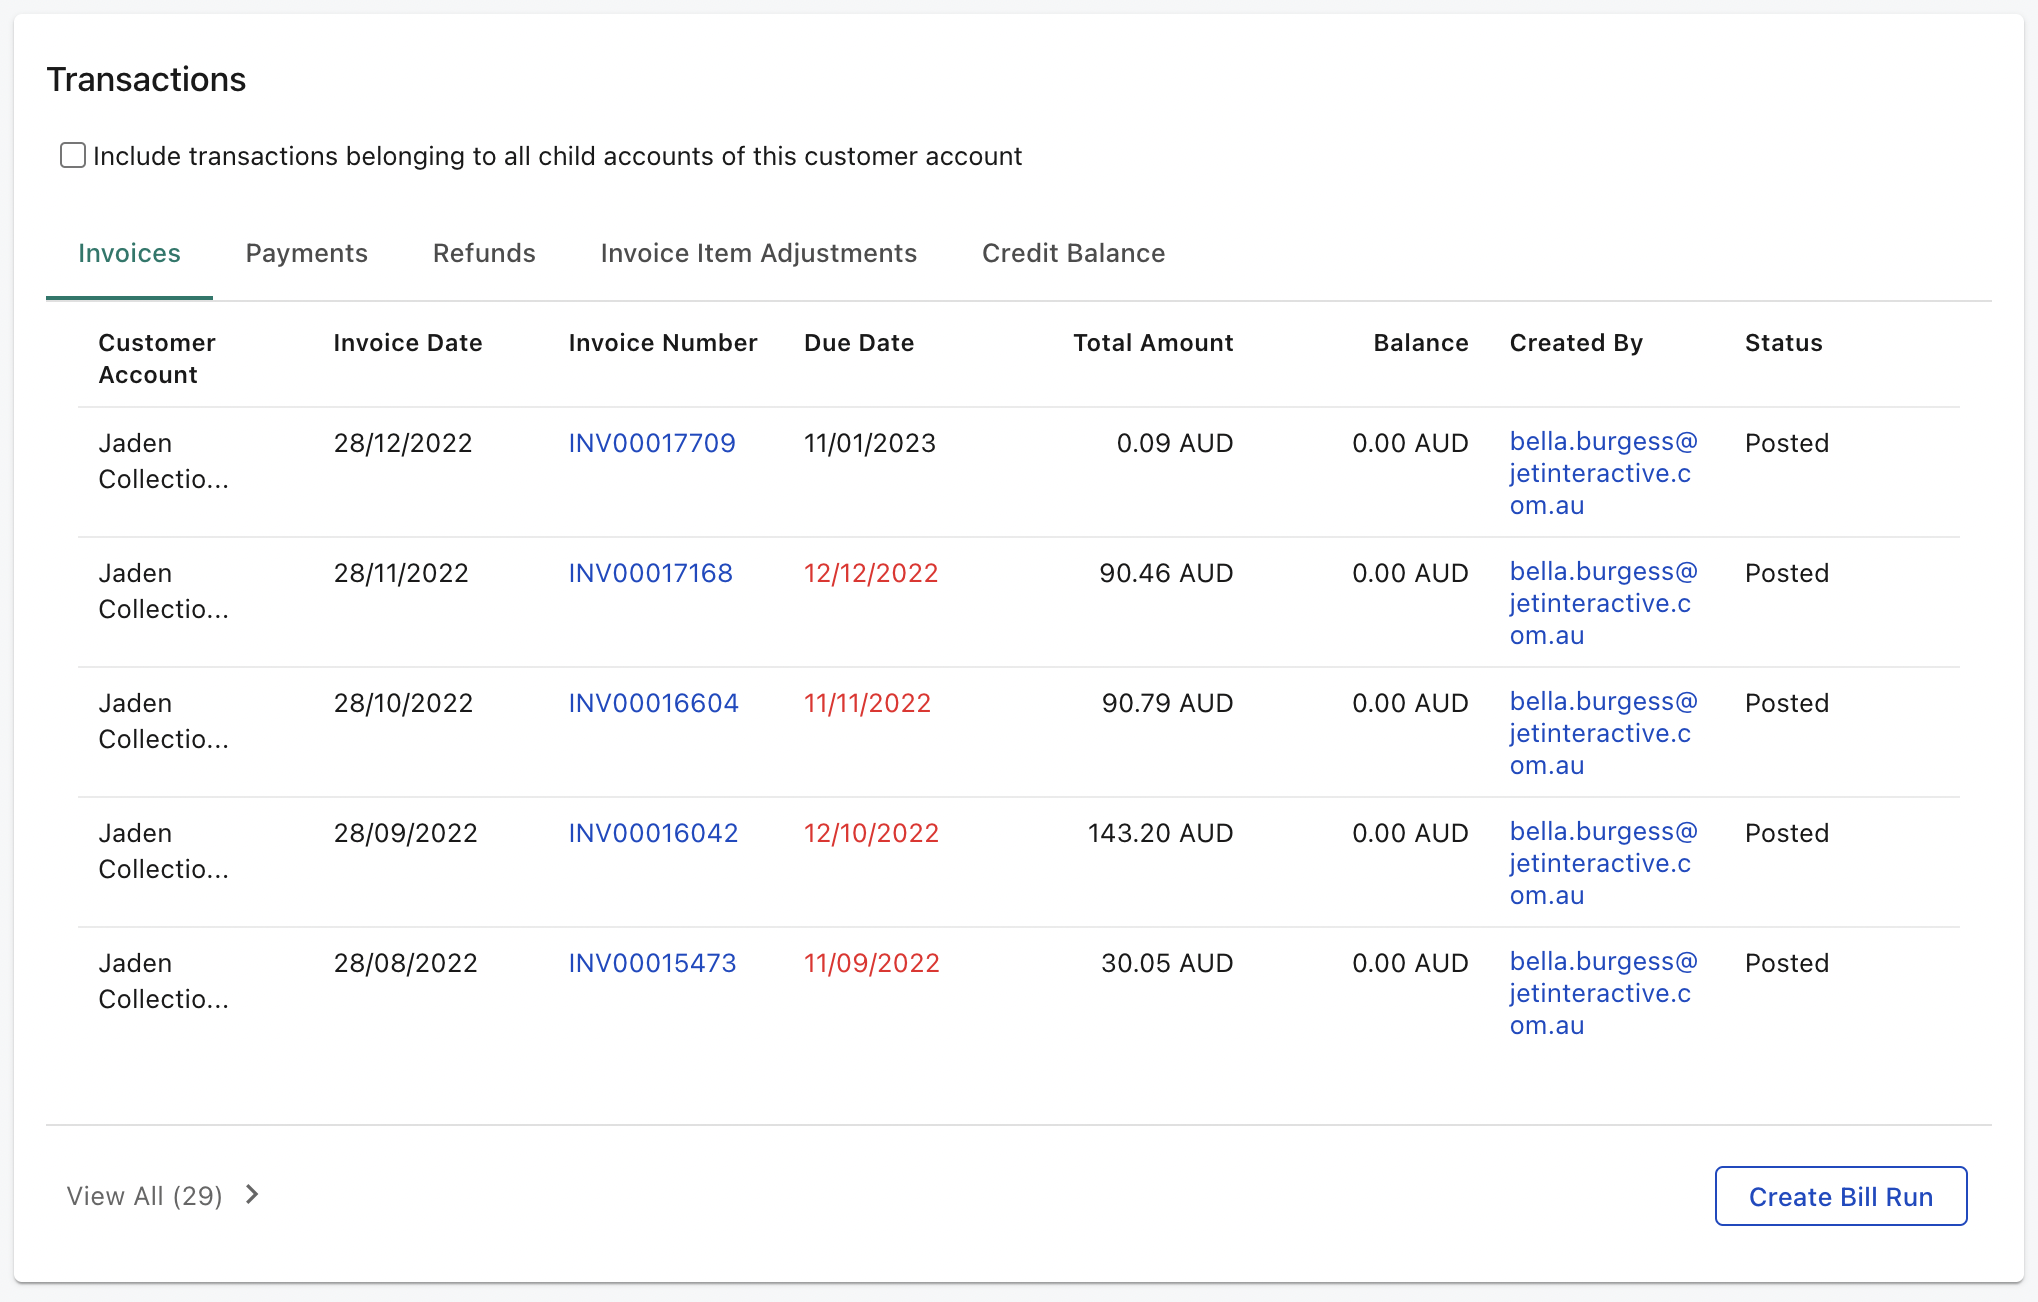
When the bill run is completed, the final invoice will be created.
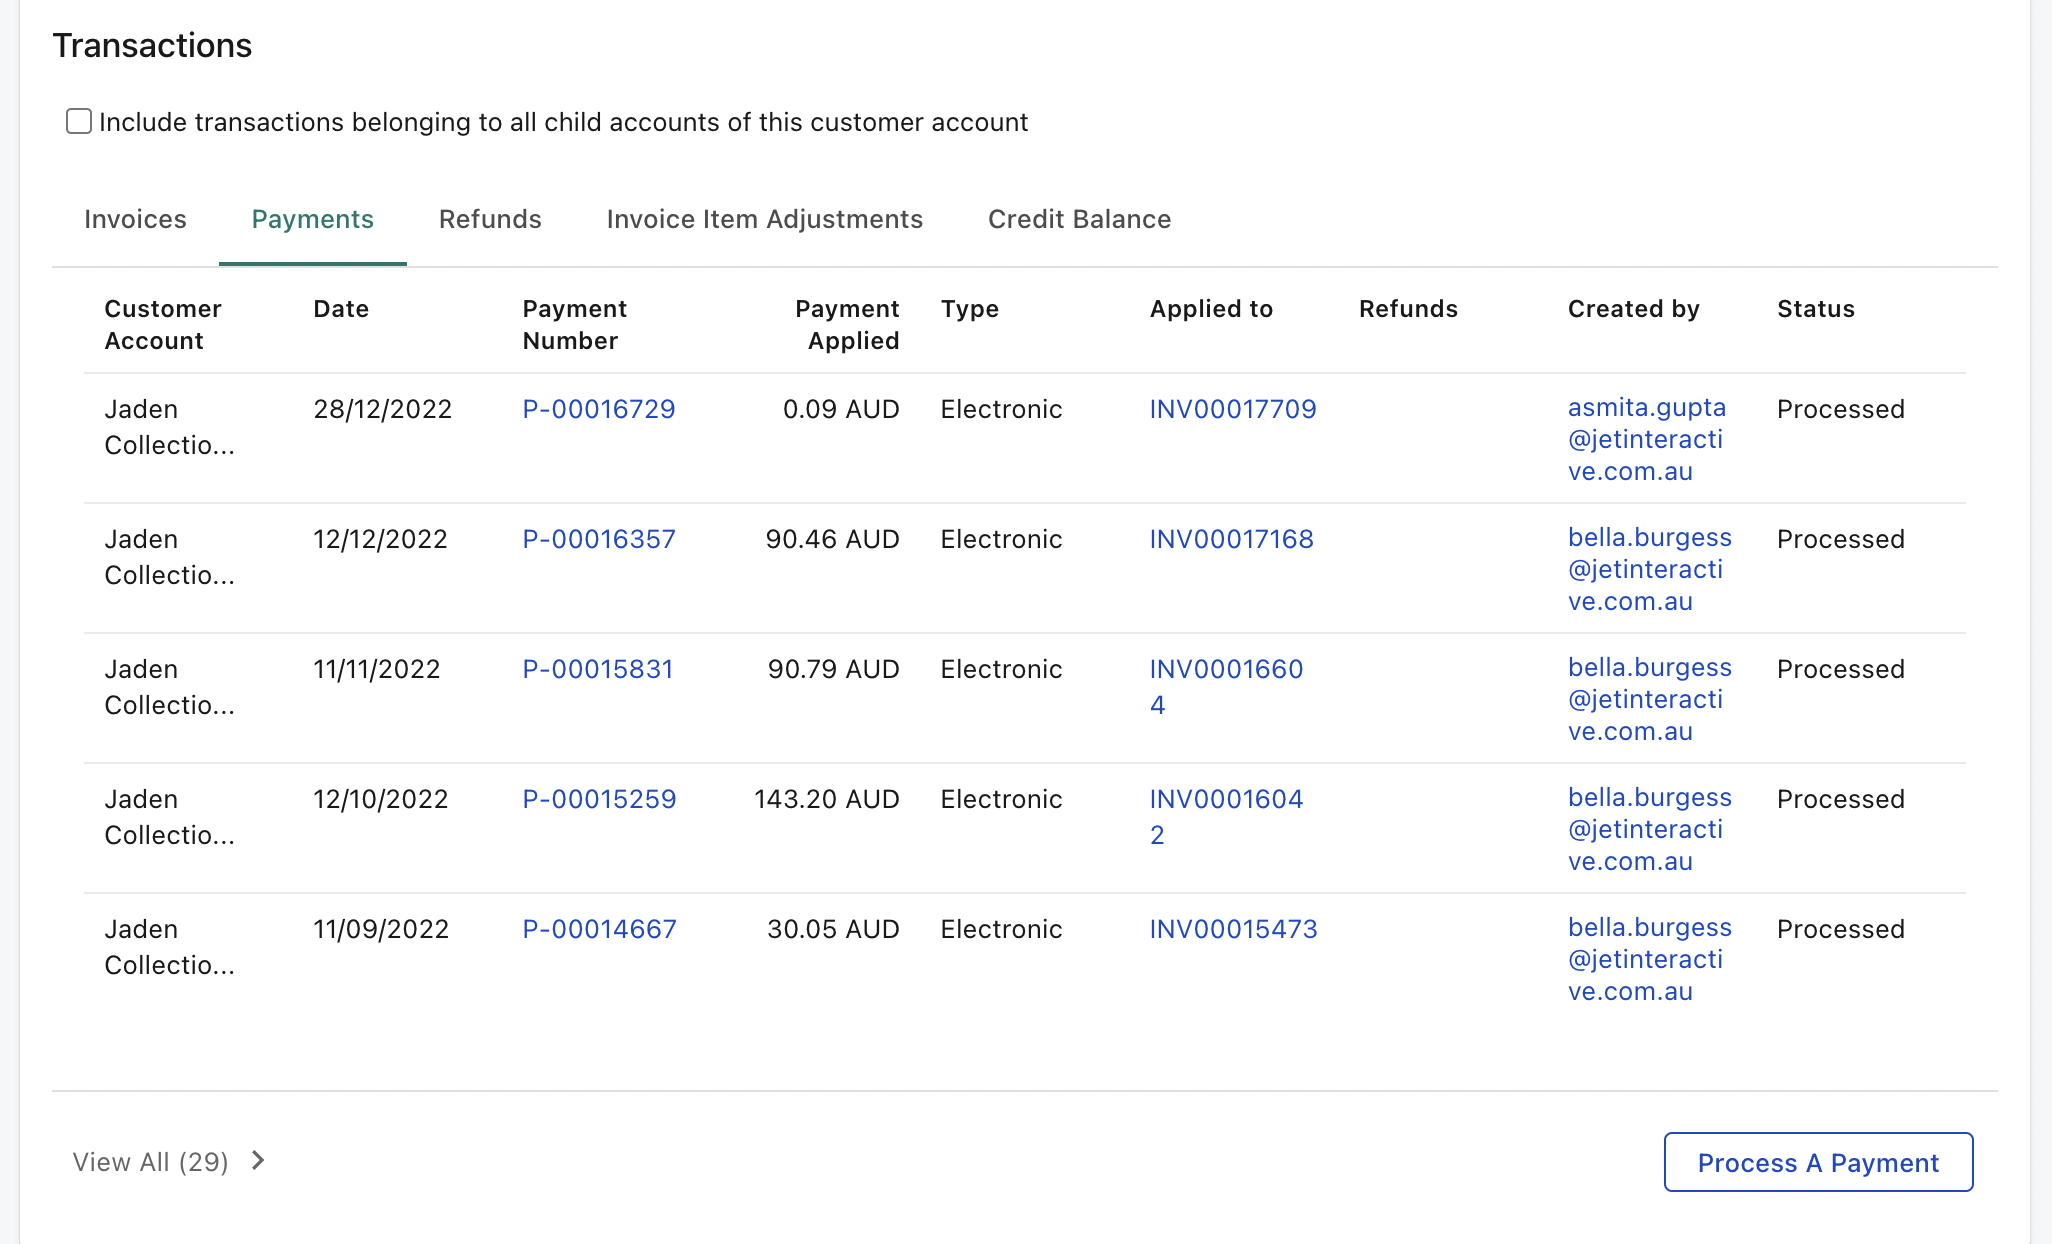
"POST" that invoice and process the payment.
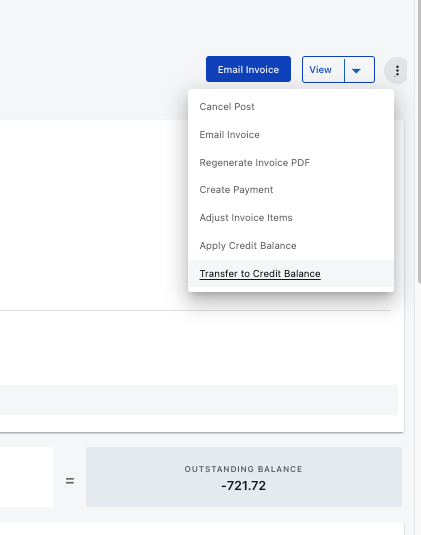
If your final invoice is a negative value, you will need to create a credit balance and process a refund.
Open the final invoice and select Transfer to Credit Balance.
One this credit balance is processed, please follow our refund process for account cancellations as explained here: Refunding a credit balance
Once the account balance is $0, then you can proceed with cancelling the account in Zuora. On the top right corner, click on 3 dots and select " Cancel Customer Account".
STEP 3 : ZENDESK
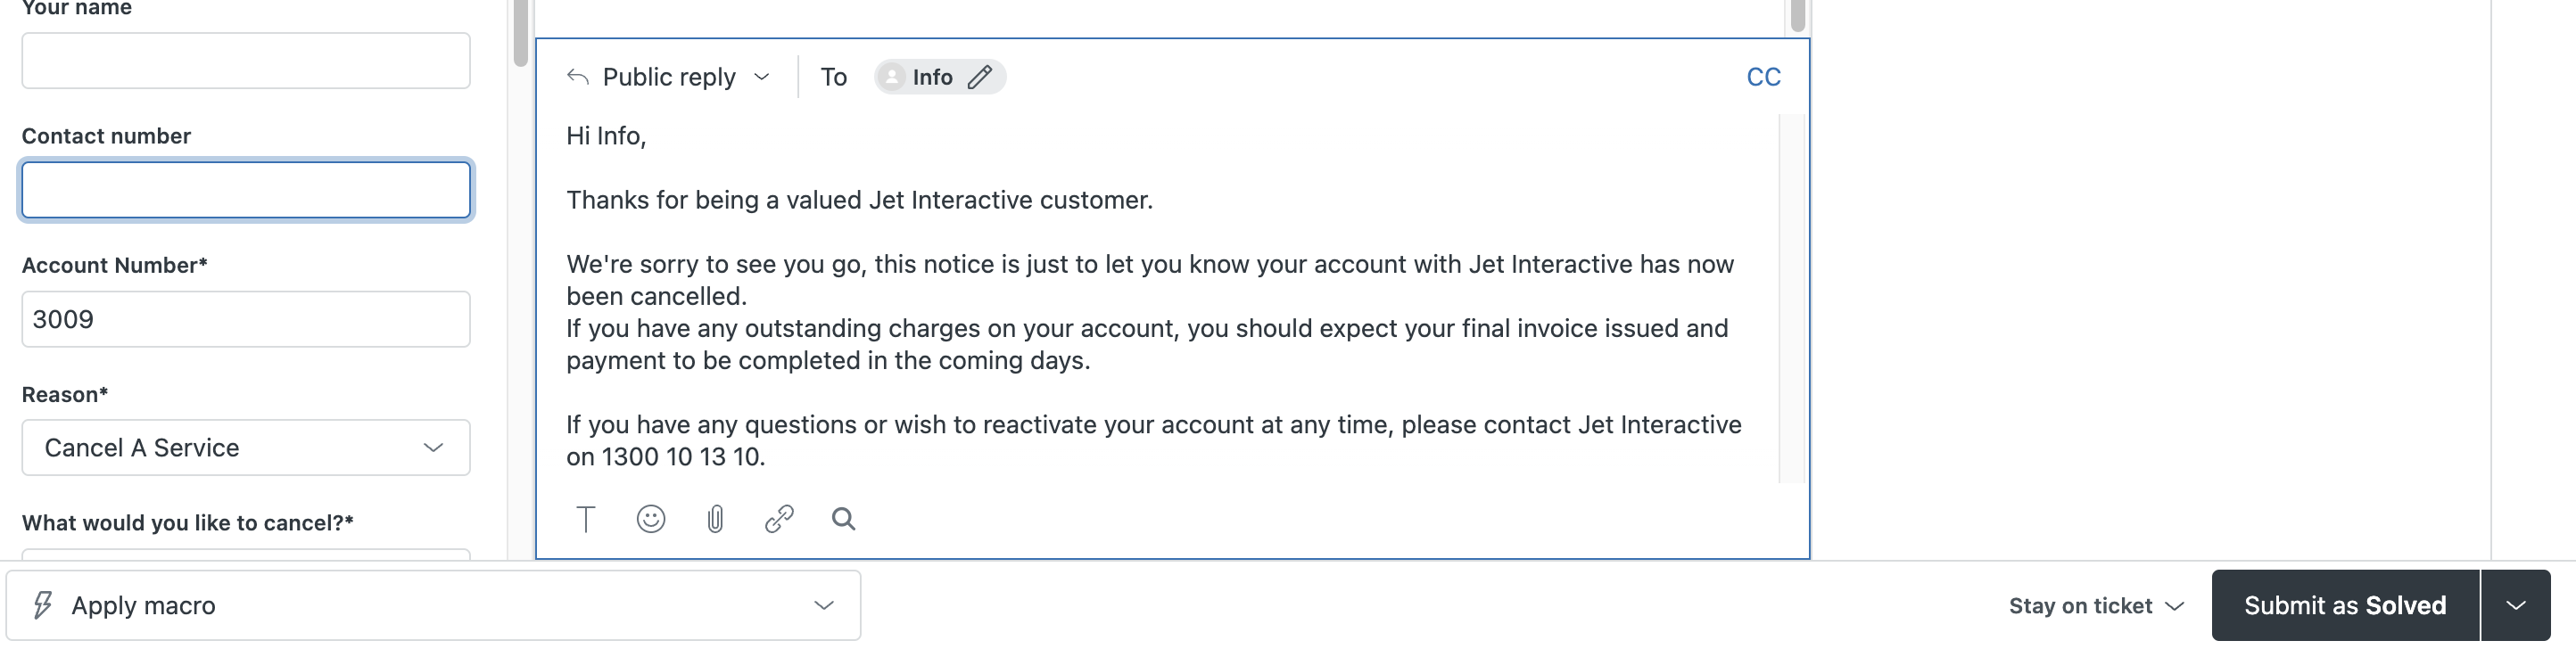
The final step is to send Cancellation Complete Macro to the Client and submit it as solved.