If your account is set up with dynamic numbers, you will be able to manage your tracking pools via the Jet Hub portal.
To find out more about dynamic numbers, please view our article here: What is call tracking?
Please note, these features can only be viewed if your account has dynamic tracking services. To access these features, you will also need to be logged in as an Account Admin.
You can view more information about Jet user roles here.
Linked services
When your account is set up with a dynamic tracking pool, all services in your pool will be linked. If you select any one of your pool services on the Phone Numbers page, this will automatically select all linked services in your pool as well.

If you want to change the service name, service group or callflow, you will make this change for all linked numbers at once.
This ensures the routing stays the same across all website numbers, as they do not operate individually.
View your setup
To view your dynamic pools, navigate to Dynamic Number Configuration.
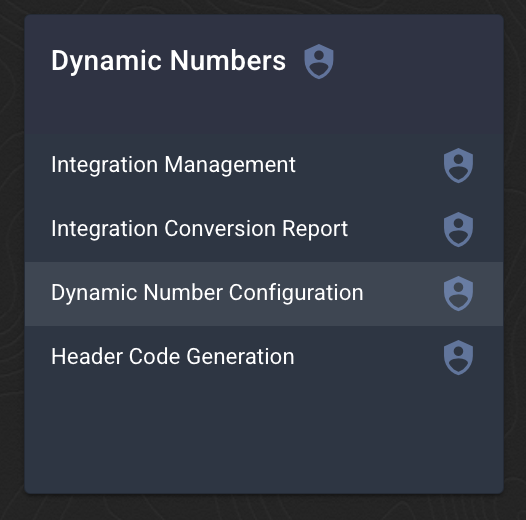
This page will display a list of your current dynamic tracking pools.

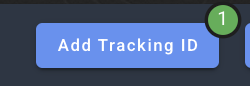
If you have any new tracking IDs available to set up, you can use the Add Tracking ID button to do this.
Understanding your pools
A dynamic pool has a number of important pieces of information.
Tracking ID
Your tracking ID will be your account number, with "WT" on the front - eg: WT1000.
Each tracking code can be connected to a single Google Analytics integration. If you have multiple pools that need to be connected to different GA properties, please speak to our team and request an upgrade to dual tracking codes.
Multiple tracking IDs will look like WT1000, WT1000A, WT1000B, etc.
Configuration
A Configuration is your website pool.
You can have as many configurations (ie: dynamic tracking pools) as you want for each tracking code, but each configuration requires a minimum of 3 phone numbers to be used.
The configuration name is very important - this name will appear in your website header code.
You can update your configuration name by using the Edit button on the right of your screen.
![]()
If you change this name after you have installed your website header codes, you will need to download a new header code version from the Generate Header Code page in Jet Hub, and update your website.
Assigned Numbers
This section will show you the phone numbers that are assigned to your website pool.
The image below shows this configuration has 3 numbers assigned, and you can hover over the green quantity icon to show the actual numbers.

If you need to add or remove any services from your configuration, you can use the Assign Numbers on the right.
![]()
To add a number to your pool, this number must be in an Available state on your account, which means it should not be set up against a callflow. If you need to use an existing number, please go to your Phone Numbers page, select the number and choose Deactivate in the top right.
Similarly, removing a number from your website pool will change this number to be Available but not in use. Please activate this number to use it for a different purpose.
Replacement Method
The Replacement Method refers to the process we will use to locate and replace the numbers on your page.
We have two main replacement methods: Replace by Class (RBC) and Replace by Text (RBT).
Replace by Text (RBT)
The replace by text method is the most simple to configure, as it does not require implementing any additional provided code but instead might require reformatting certain sections of HTML within your website.
Replace by text works by searching for and replacing specific text (ie: the number that currently displays on your site).
Because the replace by text method is searching for a specific exact match of text, everywhere your number is displayed on your website will need to be in exact same formatting, including all tel/href links - for example in the format "1300 xxx xxx" with no 61 or %20 formatting included.

This image shows the text of exactly "1300 10 13 10". Your number must be formatted in exactly this way in every place on your page for this replacement method to work
Replace by Class (RBC)
The Replace by Class attribute specifies one or more class names for an HTML element to recognise and interact with. CSS and JavaScript can then use the class name to perform certain tasks for elements with that specified class name.
There are 2 versions of replacement codes you can use:
-
-
Clickable anchor tag
<a class="[insert class name here]" href="tel:{insert number here}">{insert number here}</a>
For a clickable button that does not have number, use class name:
"jet-href [insert class name here]"
-
Text body
<span class="[insert class name here]">{insert number here}</span>
-
Clickable anchor tag

An example code could be:
<span class="dynamicphone">1300 10 13 10</span>
You can update your replacement method by using the option on the right of your screen.
Please immediately test your website codes after making any changes, as this has a significant impact on your setup.

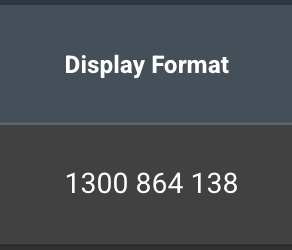
Display Format
When setting up your replacement method in the step above you will also set up your number display. This will affect how your numbers appear on the page, including any spaces, brackets, etc.
There are different formats for the types of numbers in Australia:
| Number type | Custom code | Displays like |
|---|---|---|
| 1300 or 1800 numbers |
12:#### ### ###!c 12:#### ## ## ##!c |
1300 101 310 1300 10 13 10 |
| Local Number |
11:## #### ####!c 11:## #### ####!c!a |
02 9146 4606 9146 4606 |
| Mobile Number |
11:#### ### ###!c 11:#### ## ## ##!c |
0481 611 538 0481 61 15 38 |
!c = excludes the country code such as +61
!a = excludes the local area code, such as 02
When complete, you will see an example on your homepage of what this will look like on your site.
Please test this on your website and ensure this matches the format shown there.
Measurement ID
The Measurement ID should match your GA4 measurement ID that you entered when you set up your GA4 integration. This will be automatically added when your integration is set up.
If this field is blank, please reload your GA4 integration or enter this manually using the Update Measurement ID option.
![]()