This article will show you how to create a new callflow and assign the callflow a number. We have a range of helpful templates to make this as easy as possible, you can also customize the templates to suit your needs or start from scratch. In this article we will cover:
- Callflow Statuses
- Glossary of Callflow Terminology
- Creating Your Callflow
- Using Your Callflow for a New Number
If you have a 1300, 1800, or a local number that will be your main business number and want it forwarded to a external number or to one or multiple Jetphone users please follow the steps in Creating Your Callflow and then see Callflows for Inbound Numbers.
Callflow Statuses
Every callflow will have a status. ACTIVE, AVAILABLE or DRAFT.
 |
Callflow is currently in use by one or more of your numbers. |
 |
Callflow is complete but has not been used by any services yet. |
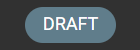 |
Callflow is incomplete and not able to be used yet. Complete the callflow to 100% to change the status to AVAILABLE for use. |
Glossary
We will be using a few terms throughout this article. Here's what they mean:
|
Term |
Description |
|
Canvas |
This is the space in your callflow builder where you will place your widgets and design your callflow. |
|
Widget |
A widget is a component of your callflow builder that allows you to add an event or feature to your services. Widgets can do things like:
For a full list of widgets and functions see Callflow 101 |
|
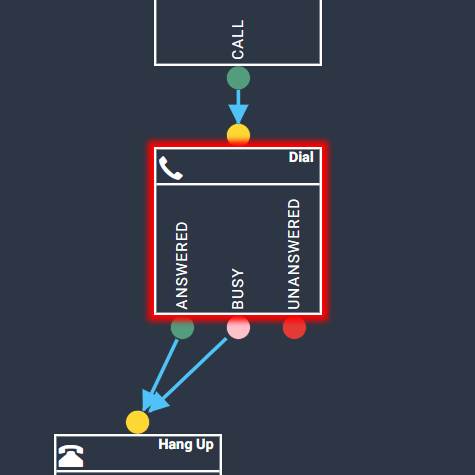
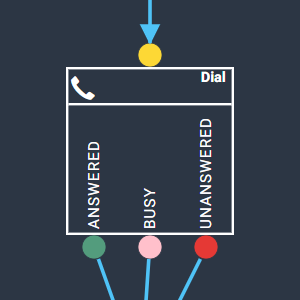
Node |
A node is what we call the coloured dots on the top or bottom of each widget. Connecting these nodes to each other is how you build your callflow. Nodes will often have different colours based on their functionality. For example on the Dial widget below:
|
|
Modal Window |
When you click a widget, the setting or configuration screen of this widget will pop up on the right of your screen. We sometimes refer to this as your modal window. You can change the size, shape and location of your modal window by dragging the blue title base anywhere on your screen, and using the small white lines on the bottom right to increase the size. |
|
Progress Bar |
In the top right of your callflow builder, you will see a progress bar showing a percentage. This percentage needs to be at 100% to allow this callflow to be used. At any time, you can click into this progress bar to see what is left to complete.
Clicking the message displayed will the highlight the widget that still needs attention:
|


Creating Your Callflow
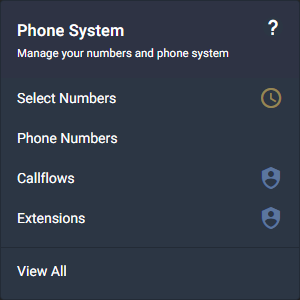
Step 1 - Under the Phone System menu, select Callflows.
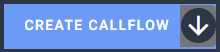
Step 2 - Select Create Callflow from the callflows menu.
This will display a list of templates to choose from.
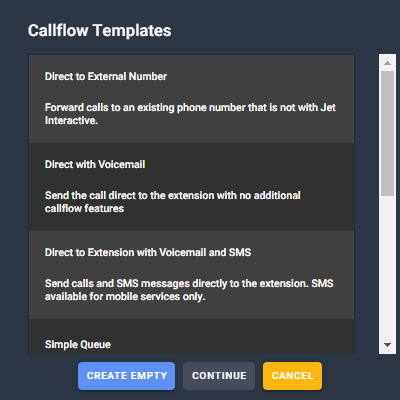
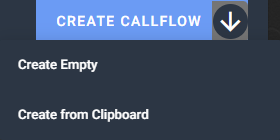
You can choose from a range of our helpful templates or click on the arrow symbol next to Create Callflow and Create Blank to start from scratch. Our best recommendations are:
Step 3 - Once you have chosen the template that meets your needs you will have to go through and configure the widgets. E.g. If you chose Direct to External you will have to configure the dial widget by selecting it.
Then in the modal window select Add External and enter the Non-Jet phone number you would like the call to go to. E.g. Your personal mobile phone number.

Step 4 - Use your progress bar to complete the information required. This could mean uploading an audio file, choosing an answering point, or entering an email address. The progress bar will tell you what is needed in each widget - remember to click the messages to highlight the widget they refer to!

When your callflow information is complete, your progress bar will be at 100% and the AVAILABLE button will be enabled. Click AVAILABLE to save this callflow. Otherwise click DRAFT to save as a draft if the callflow is not complete.
For more information on the features available in Jet's callflow builder please see the articles below:
- Callflow 101
- How To Add Voicemail
- How To Add A Custom Greeting
- How To Set Up Time Of Day Routing
- How To Add Multiple Answering Points
- How To Build An IVR
- How To Add A Call Whisper
More articles on each widget and callflow process can be found in the Jet Support Centre.
Changing Your Callflow for an Existing Phone Number
Your callflow is now complete, and you can use it for any your phone numbers. This can be done by changing your phone numbers to use this callflow via the 2 methods below.
Method 1
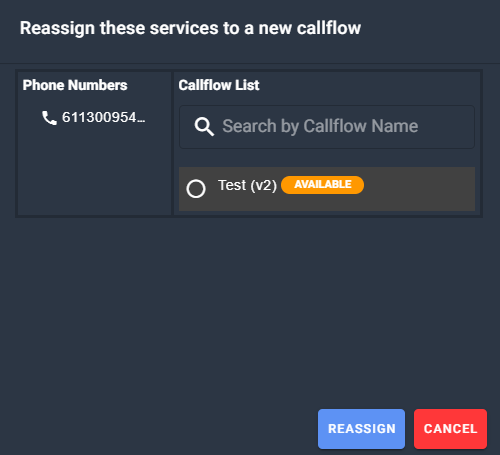
Step 1 - From the Callflows page choose REASSIGN on the callflow where the number or numbers are currently.
![]()
Step 2 - This will move all phone numbers associated with a particular callflow to a different callflow.
Method 2
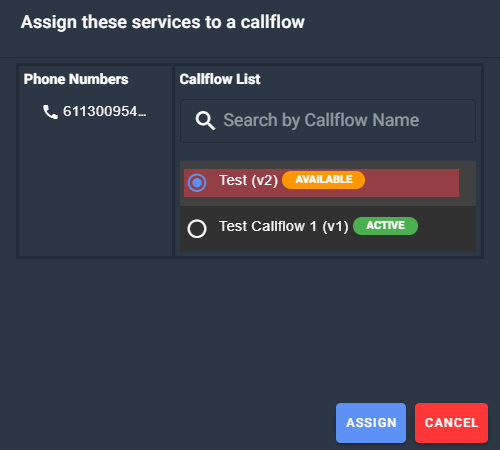
Step 1 - Select one or many numbers from your Phone Numbers page by ticking the boxes next to the number.

Step 2 - Then choose Change Callflow. This will only update the numbers you have chosen.
![]()
Step 3 - Then select the Callflow you would like this number to be active on.
Using Your Callflow for a New Number
Step 1 - Under the Phone System menu, select Phone Numbers.
Step 2- The new phone number should be displayed with a green bubble with the number of available numbers showing. Select Available.
Step 3 - Click on the phone number, enter your Service Name and then select your callflow. Then, click ACTIVATE.
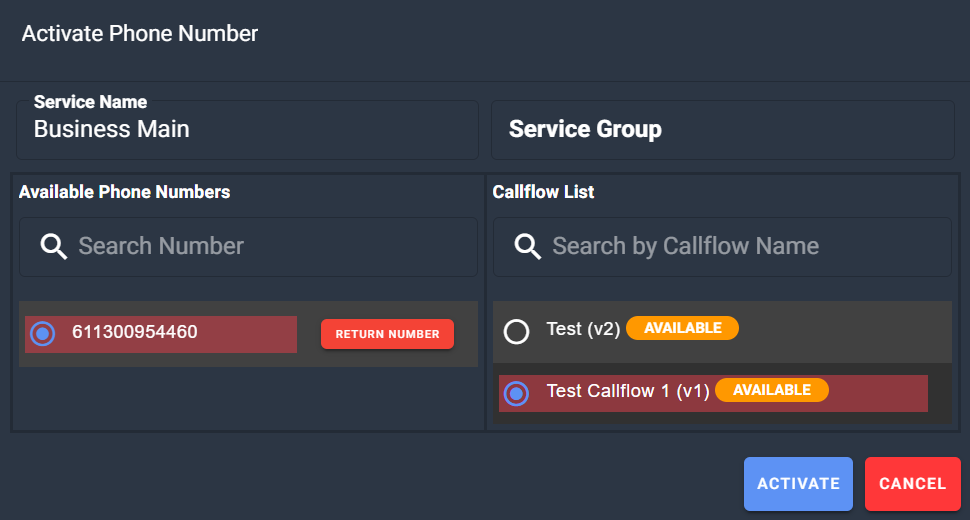
Your phone number is now active using the callflow you selected. Make sure you make a test call to ensure this is working as intended.