Porting mobile numbers is tricky and requires in-depth knowledge of the Twilio Porting system.
Full information from Twilio here: Australia Porting
The detailed breakdown of these steps is below - note they must be followed in order and without modification or Twilio will reject.
1. Fill out the MNP template
Fill out the template located here. Each phone number must be on a separate line, and all 4 cells in a row need to be filled out for each number.
For example:
The form must be named "[company name] MNP Template" and saved to your computer as a csv.
2. Get Port form.
Client must fill out the Australian Mobile Port form in PandaDoc.
Note - Twilio will not accept the standard port form for Local/1300/1800 services.
This form will be sent to the customer first to fill out their details, and then be sent to the Jet staff member to fill out the Spreadsheet File Reference field.
This field should be filled out with the name of the csv document you created in step 1, along with the row number(s) applicable for each service.
Example below:
3. Get an invoice.
Send the client the Mobile Porting Requirements macro in Zendesk, which requests either:
- an invoice (postpaid service); or
- account holder Date of Birth and proof of ownership (prepaid service).
Proof of ownership could include:
- a picture of their My Account page (where they go to recharge),
- a picture of a confirmation SMS message from their current provider that includes the number and provider name, or
- a picture of the confirmation of sign up/activation from when they first obtained this service.
Client must provide one of these options -- port requests will be rejected without it.
3. Conduct a number validation.
Once started, you will only have 30 seconds to complete the validation, so this process must be done over the phone. The client will need access to the SMS messages for the number we are porting.
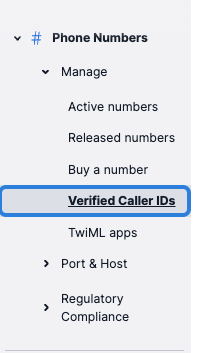
Log into Twilio, and navigate to Verified Caller IDs under Phone Numbers/Manage.
Click Add a new Caller ID in the top right.

Fill out the form with the mobile number and choose SMS as the validation method. Then call the mobile number we are porting and while on the phone to the client, hit Verify number.
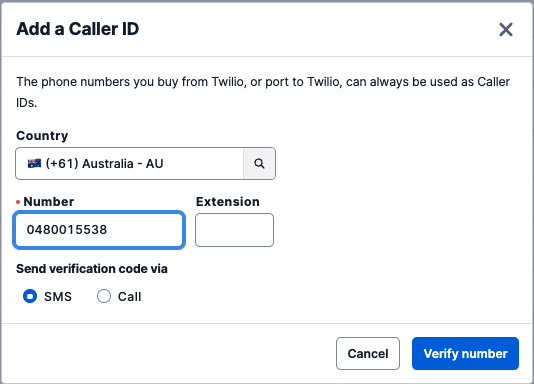
Within 10 seconds, an SMS message will be sent to this number with a 6-digit validation code. The client will need to repeat this code to you, and you will type it into the verification box that appears.
You will only have 30 seconds to complete this code entry, so this process must be done over the phone.
Once validated, the number will appear in your Verified Caller IDs list.
4. Submit your Port via email
There is no online portal to submit your port, this must be done via your Jet email.
Copy + paste the below template and replace the red text with the information from the client (check the port form for number details):
Hi team
Can we please submit the attached Port request?

Number: *insert phone number(s)

Current carrier: *insert carrier eg: Telstra/Vodafone
Account number: *insert account number (invoice) or DOB (prepaid)

Account SID: your-twilio-account-sid
Verified Business Address: your-address-sid / Bundle ID: your-bundle-id

The number has been verified as a caller ID and the CAAA + MNP Template is attached.
The Invoice or Proof of ownership is attached.
This service is Postpaid / Prepaid (remove the option not needed)
Attach your Mobile Port Authority form (CAAA), the MNP Template and the invoice or proof of ownership details to this email and send it to porting@twilio.com.
Average turnaround is 2 business days for them to submit - can be up to 30 days before approved.
Send the client the Port Submitted macro in Zendesk, as this will instruct them to contact the losing carrier to get this hurried along.
Setting up the number
When you receive the confirmation of port booking, you need to go into the Twilio platform and set up the number.
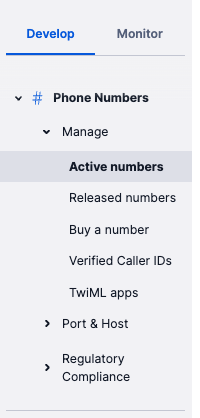
Log into Twilio, head into Active Numbers, search for your number and click the blue number hyperlink to enter the number configuration.

Under Configure, set up the Voice Configuration with the following parameters:
Configure with: SIP TRUNK
SIP Trunk: SBC_PRD (this is our production sip trunk)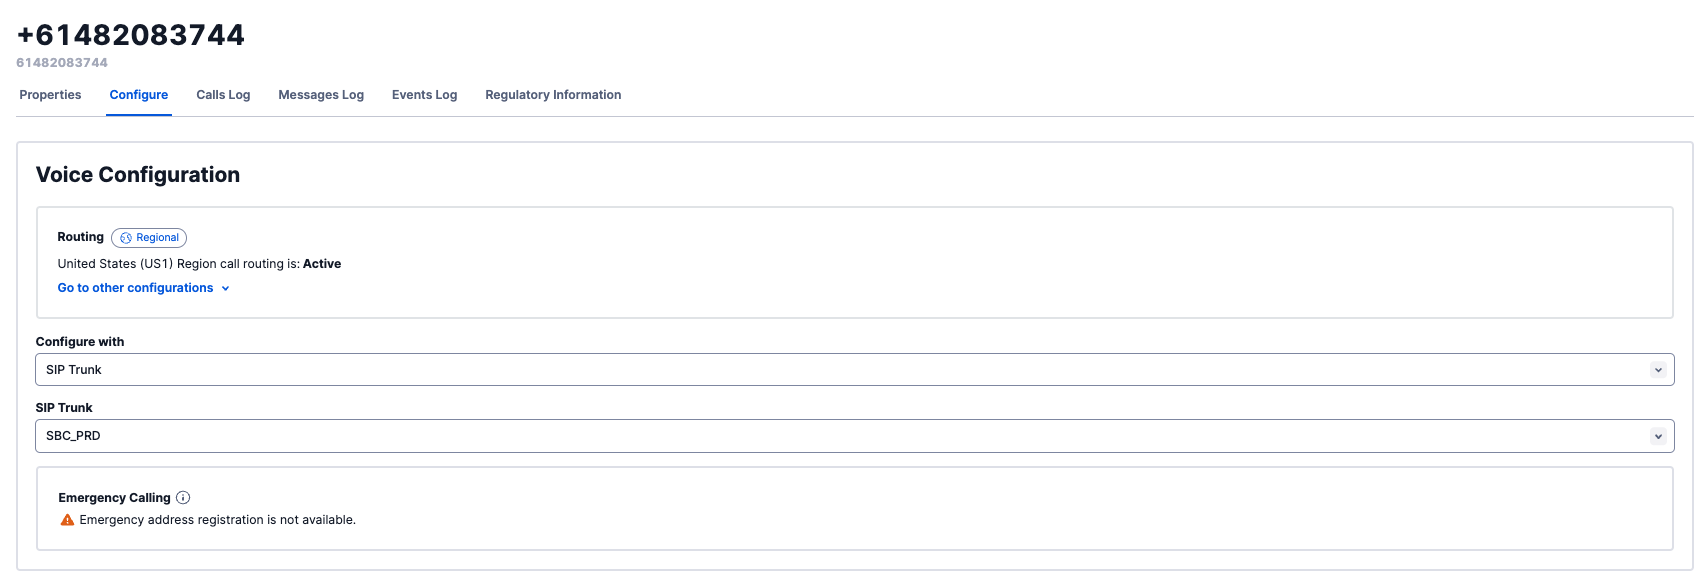
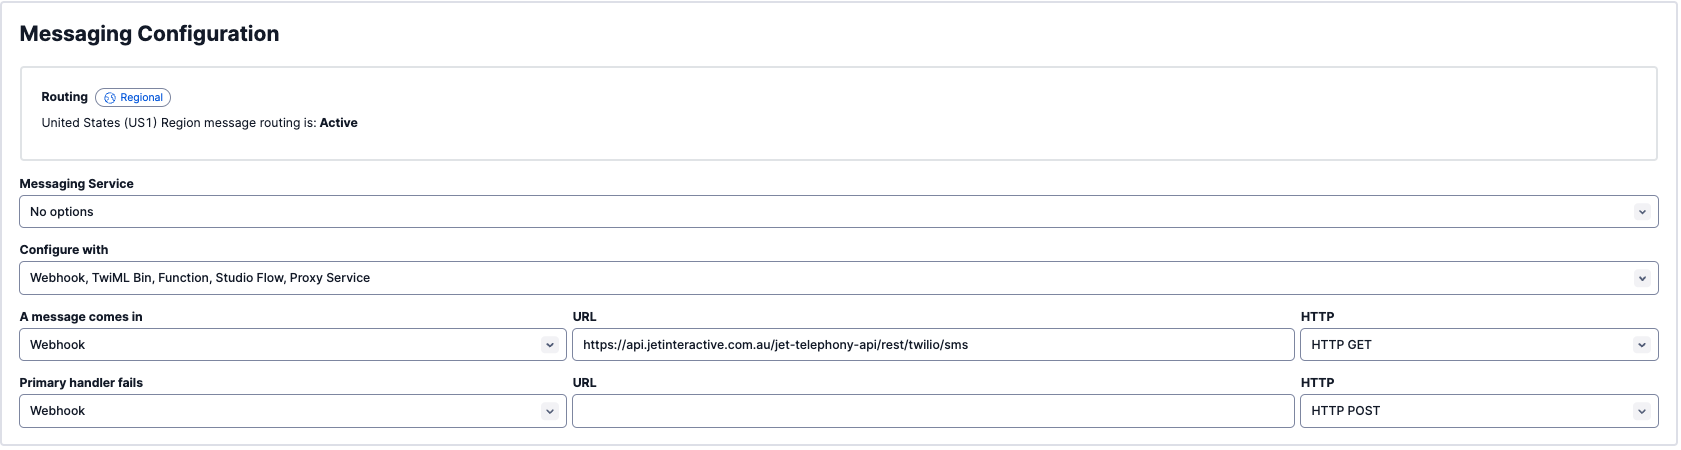
Scroll down to Messaging Configuration and set the following parameters:
Configure with: Webhooks
URL: https://api.jetinteractive.com.au/jet-telephony-api/rest/twilio/sms
HTTP: HTTP GET (you will need to change this from the default POST)
Once you have updated the Voice and Messaging information, click Save configuration at the bottom of the page.

You will now need to upload your number in Jet Hub and configure this against their account. This should be done a minimum of 24 hours before the porting time, and should be completely activated - even if this is to a voicemail only for now.