Event Parameters let you take certain bits of metadata attached to the event and use them as a custom dimension in your GA4 reports.
The available event parameters for Jet Calls can only be added after a jet_call event has occurred, so we recommend waiting a few days after adding your integration before setting these up.
Before proceeding, we recommend you read Google's article on best practices when using Custom Definitions.
In this article, we will cover:
- Available Event Parameters for jet_call events
- Setting up Custom Dimensions
- Using Custom Dimensions in GA4 reports
- Using Custom Dimensions in Data Studio
Available Event Parameters for jet_call events
Here is the list of Event Parameters that are passed through with each call event.
Every jet_call event has this information attached, so you can choose to add these dimensions at a later date if required.
| Parameter | Description |
| account_no | Your Jet Account number |
| tracking_site_code |
The Jet tracking code for your website setup. This is only applicable if you have a multi-site setup for your services with many different tracking codes. |
| timestamp | The time of the call (in UTC time). |
| gclid | The Google Click ID of the caller. |
| source | The source of the caller when accessing your website. |
| medium | The medium of the caller when accessing your website. |
| campaign | The campaign your caller interacted with before placing the call. |
| keywords | The keywords your caller used to find your website (available for cpc sessions only). |
| channel | The channel your caller used when accessing your website. |
| domain | The domain your caller was on when placing their call. |
| path | |
| answering_point |
The answering point or endpoint that the caller was directed to in their call. This could be a Jet phone user or an external number in your callflow setup. More info: How to add or change an answering point |
| service_number | The Jet phone number that was called. |
| service_name | The service name of the Jet phone number that was called. |
| call_status |
The status of the call (eg: Answered, Busy, Cancelled). More info: Inbound & Outbound Calls |
| ivr_prompts |
The IVR selection that the caller made. Note - not all accounts use an IVR. If no selection was made or if an IVR was not present, this field will show as INVALID in your GA data. |
Setting up Custom Dimensions
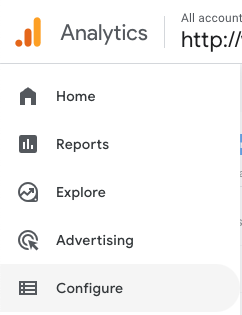
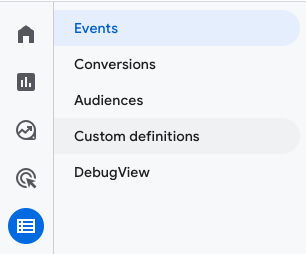
Step 1 - In your GA4 menu, choose Configure, then Custom definitions.
 .
. 
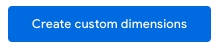
Step 2 - Click Create custom dimensions
Step 3 - Set up your custom dimension with the information below:
| Dimension name | A name that describes the parameter (eg: Call Status). |
| Scope | This should always be Event. |
| Description (optional) | More information on this data (eg: the call status of your Jet Interactive calls. The options are ANSWER, BUSY, UNANSWERED or CANCEL.) |
| Event Parameter | Choose the exact event parameter name listed above from the dropdown. |
The completed form should look a bit like this: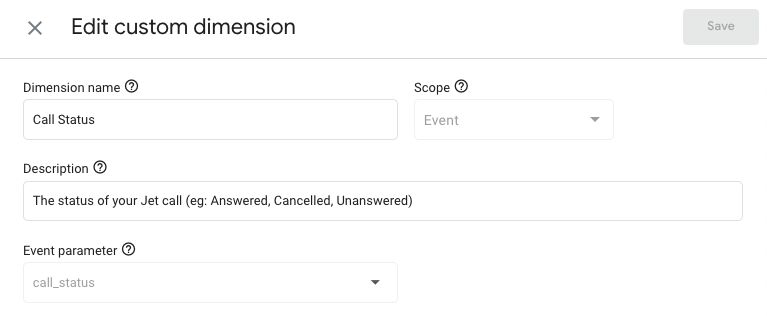
Step 4 - Select Save in the top right.
It will take 48 hours for the data to pull in your GA reports.
Using Custom Dimensions in GA4 reports
One your custom definitions have been added into your GA4 account, you will be able to use the Jet Interactive Dimensions as a comparison in your account.
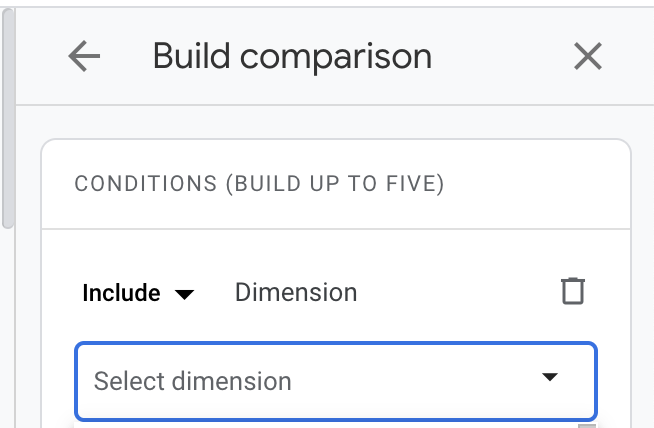
Any custom dimensions will be listed at the top of your options, listed alphabetically by the Dimension name.
Using Custom Dimensions in Looker Studio (formerly Data Studio)
With the new release of GA4, any custom definitions that have been created in GA4 will also be available in Looker Studio (formerly called Data Studio).
You can find more information about using Data Sources in Looker Studio here
If you are finding that not all of your custom definitions are pulling through to Looker Studio, please ensure you are refreshing your data sources.